Internet connection requirements
To make a successful video call, you need an internet connection that sends and receives data quickly enough. A good broadband connection is required (minimum speed is 350Kbps upstream and downstream for Video Call) and latency should not be more than 100 milliseconds. If using a mobile phone or tablet, 3G/4G mobile signal should be adequate for Video Call. Please note that if you are using a Satellite or NBN Sky Muster connection you may experience low bandwidth issues.
There are several ways to see the amount of bandwidth a user has in a Video Call. You can use the Traffic Light Connection feature from within the call window or you can use the participant information dropdown screen in the dashboard to see the bandwidth information (see below for details).
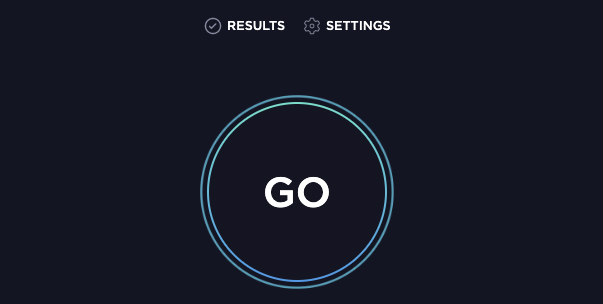
You can also check your internet connection speed outside of a Video Call by doing a speed test here: https://www.speedtest.net/
Click on the GO button to do your test and once done you will see your results
 |
 |
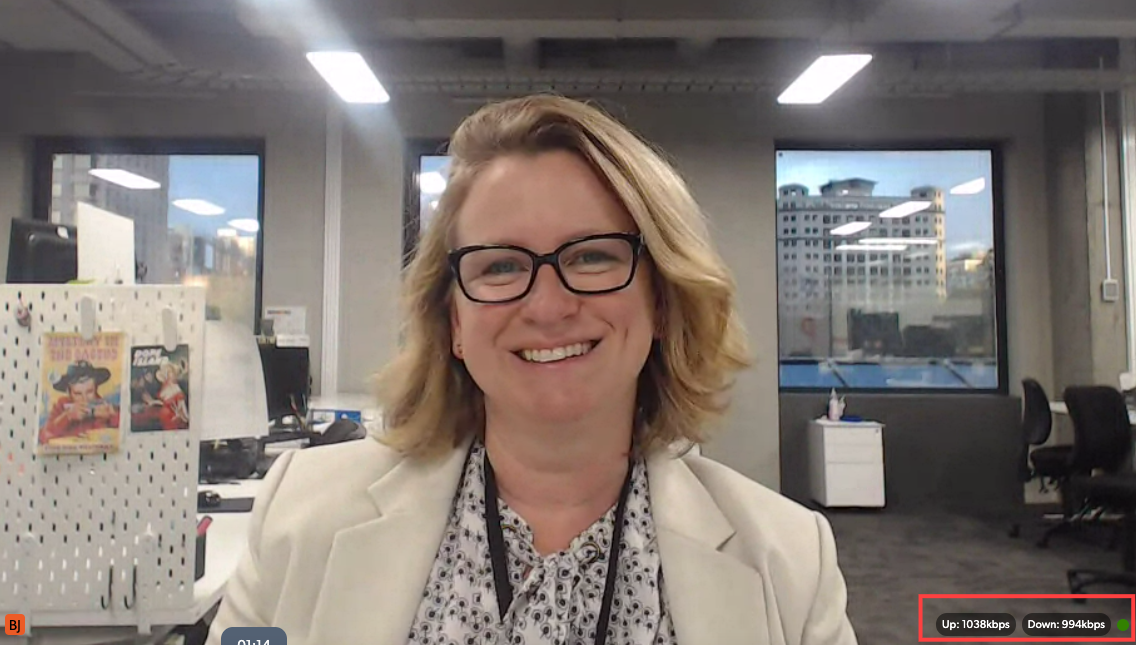
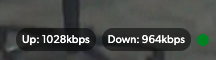
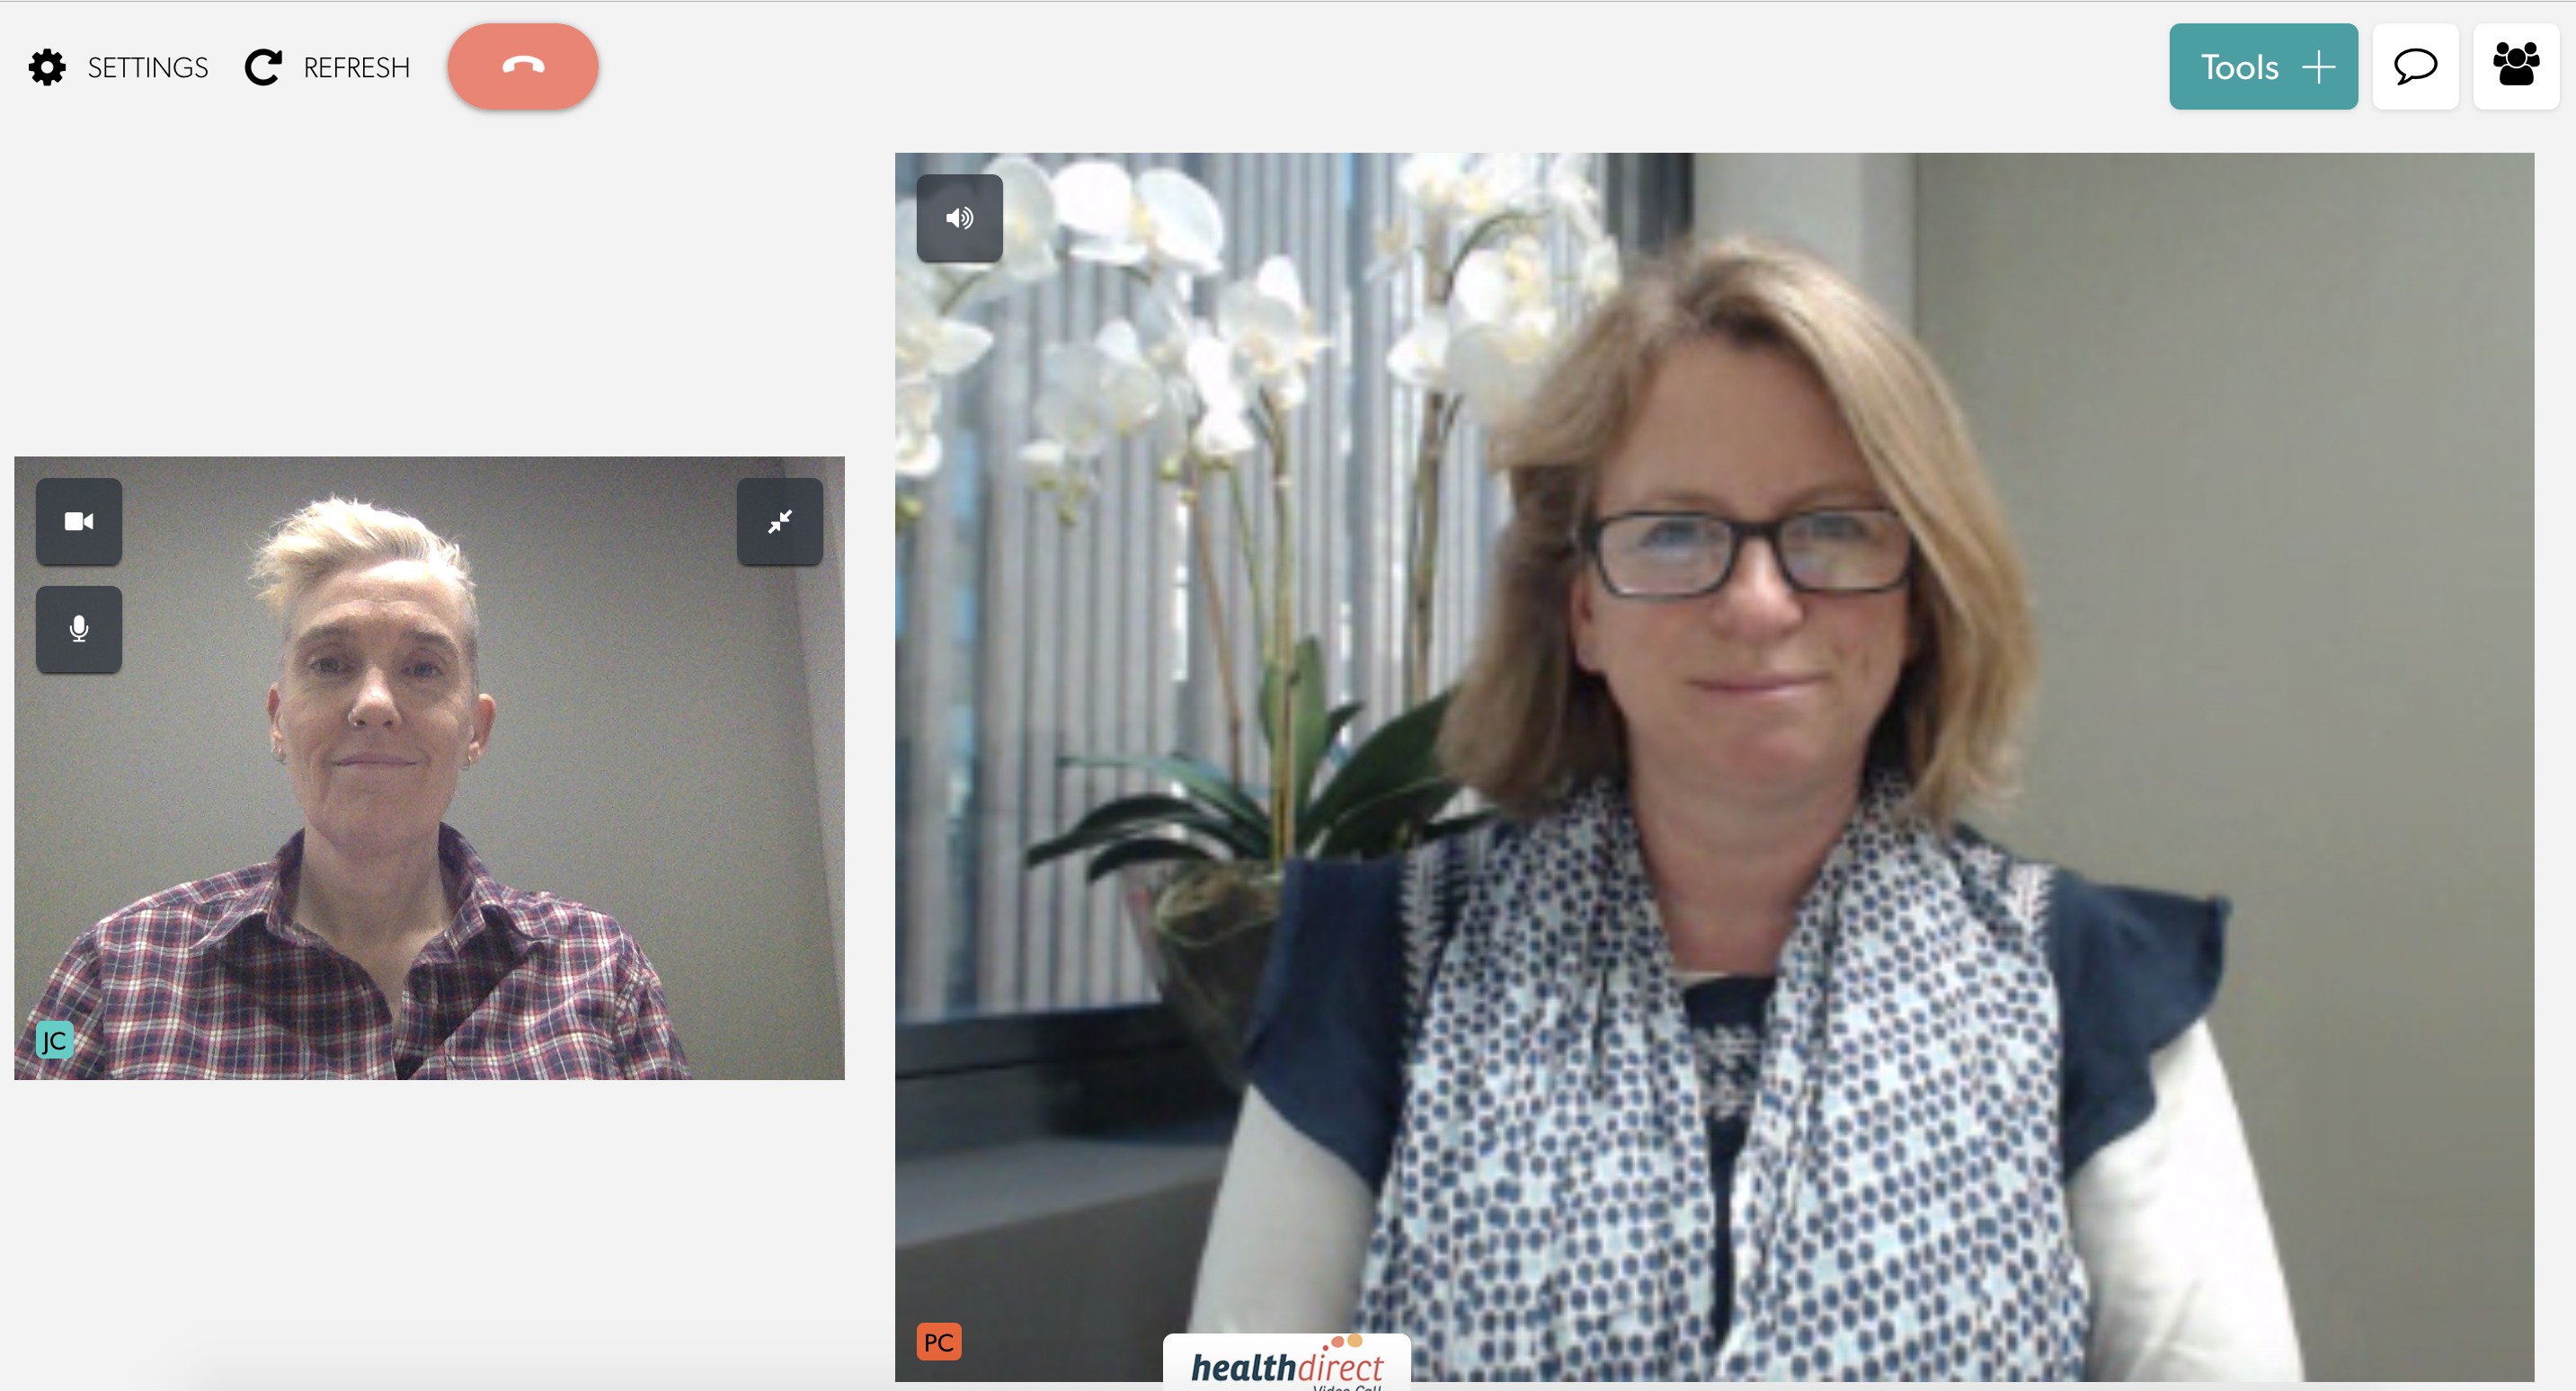
Traffic Light connection feature
You can easily check your call connection speed while in a healthdirect Video Call:
|
 |
|
Click the traffic light to see the actual bandwidth with which you are connected to them - anything below the required 350Kbps up or down will lead to drop-outs |
 |
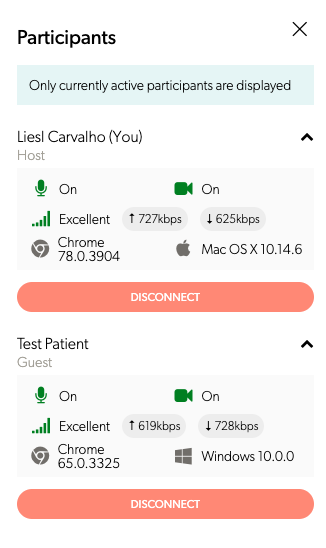
Participant Information Screen - includes call bandwidth information
|
Go to your Dashboard page and click on Participants in your call to view information about all participants including:
|
 |
How to change your video quality settings
If you are regularly experiencing low bandwidth issues with your participants you may want to change the video call quality settings. You can do this from within an individual call or you can also set this for all calls in your Waiting Area.
Changing video quality within the call:
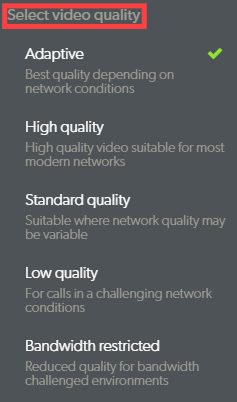
| While in a video call click on Settings and go to the Select video quality option. Note: If you do not see the video quality options, you may be using a browser (such as Safari, or older versions of Chrome/Firefox) that does not support this feature. |
|
| Using these options, it is possible to change the quality of the video you send to other participants in the call, which can provide for improvements to your overall call quality. For example, moving to a low quality video setting may result in improved audio in poor network conditions. The settings have the following behaviours: Adaptive High quality This is dependent on a couple of factors:
Standard quality Low quality Bandwidth restricted In an attempt to establish and hold a successful call this setting will further sacrifice video quality and smoothness to prioritise audio. In this setting (for non Safari users) video will be attempted to be sent at 20 frames per second (FPS), with a target maximum resolution of 160x120, with no minimum resolution. If using Safari, due to an inability to support video resolutions below 320x240, video will be sent at 15 frames per second (FPS), with a target resolution of 320x240. Note: Currently, only outgoing video (video you send to others) is affected by the video quality settings. Incoming video is unaffected, but is still subject to Video Call's inbuilt quality adjustment mechanics. |
 |
Configure your Call Quality settings for your clinic as the default for all calls
Please note: This setting applies to each call in the clinic but the video quality settings can be changed within an individual call at any time, if the conditions allow or require it. Click here for more information.
| From your Clinic waiting area page click on Configure. | 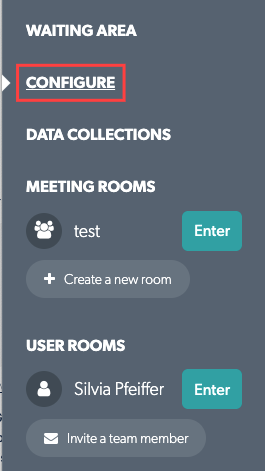 |
| Click on Call Quality and select the desired Video Quality Preset (see above for the behaviour of each setting). |
 |
Sharing video files on low bandwidth connections
You may need to share a video file with other participants in your call. Recorded videos can be very large in size and sending them or uploading them to the Internet can be a time-consuming process. To share large video files, especially in low bandwidth conditions, the video file needs to be compressed. This is especially true if you are using a device such as a phone or iPad to participate in a video call. Compression will maker your file size smaller but can affect the video quality so check your video once you have compressed it. Select your device below to see more information about how to compress your videos if required.
Video compression on iOS devices
Here are a couple of examples of free iPhone/iPad apps for compressing videos:
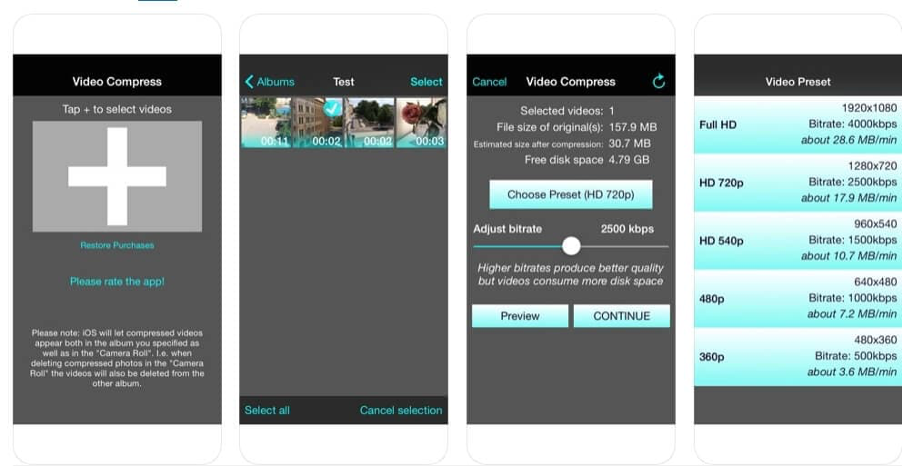
Video Compress – Shrink Vids
The app lets you resize one or more videos at the same time and choose the resolution of the output video. This compresses the file so it is smaller in size and easier to share and upload.
- Download the Video Compress – Shrink Vids app from the AppStore.
- Launch the App and click the +icon to import the video you want compress.
- Grant the app permission to access the Photos app and navigate to the folder where the video/s you want to compress are stored.
- After selecting the video/s, tap on the Choose Preset button and select one of the available presets. Adjust the bitrate (the higher the bitrate the larger the file) and preview how the videos look before and after compression.
- Tap the Continue button and select the destination album to save the compressed video/s.
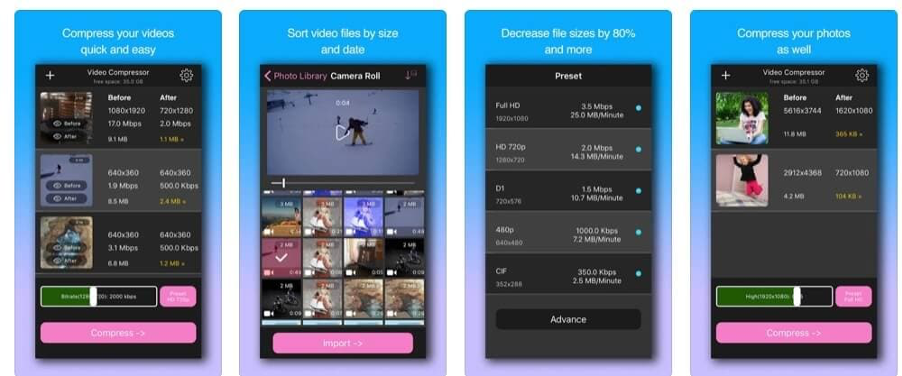
Video Compressor-shrink Videos:
- Select a video you want to compress by tapping on it.
- Choose a preset resolution to compress your video clip to.
- You can change the Bitrate (Kbps or Mbps per second) before tapping on the Compression button.
- After the video compression process is over you can organise the compressed videos.
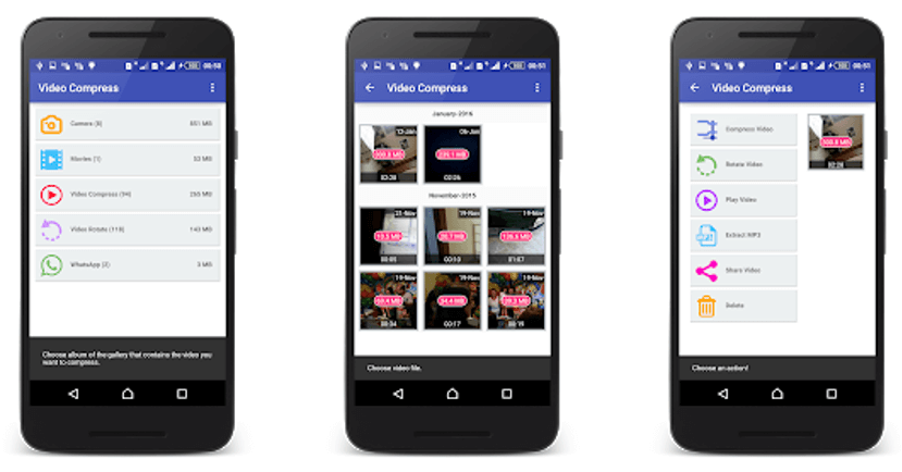
Video Compression on Android devices
Video Compress
- Download the Video Compress App from Google Play store and install.
- Open the App and choose the video to compress.
- Click on 'Compress Video'