Healthdirect Australia Help Center

    Video Call Apps & Tools - share resources in your call

    Apps & Tools enable you to share resources in your Video Call and interact with them as required

    What can you do with Video Call Apps & Tools?

    You can share your screen, share and annotate documents and images, collaborate on a shared whiteboard, download shared files and share multiple cameras during consultations using Video Call Apps & Tools. There are configurable Apps, such as Bulk Billing Consent

    Some Video Call Apps & Tools are available to use with your Video Call account, while others may be in a clinical trial phase.

    Accessing the Apps and Tools drawer

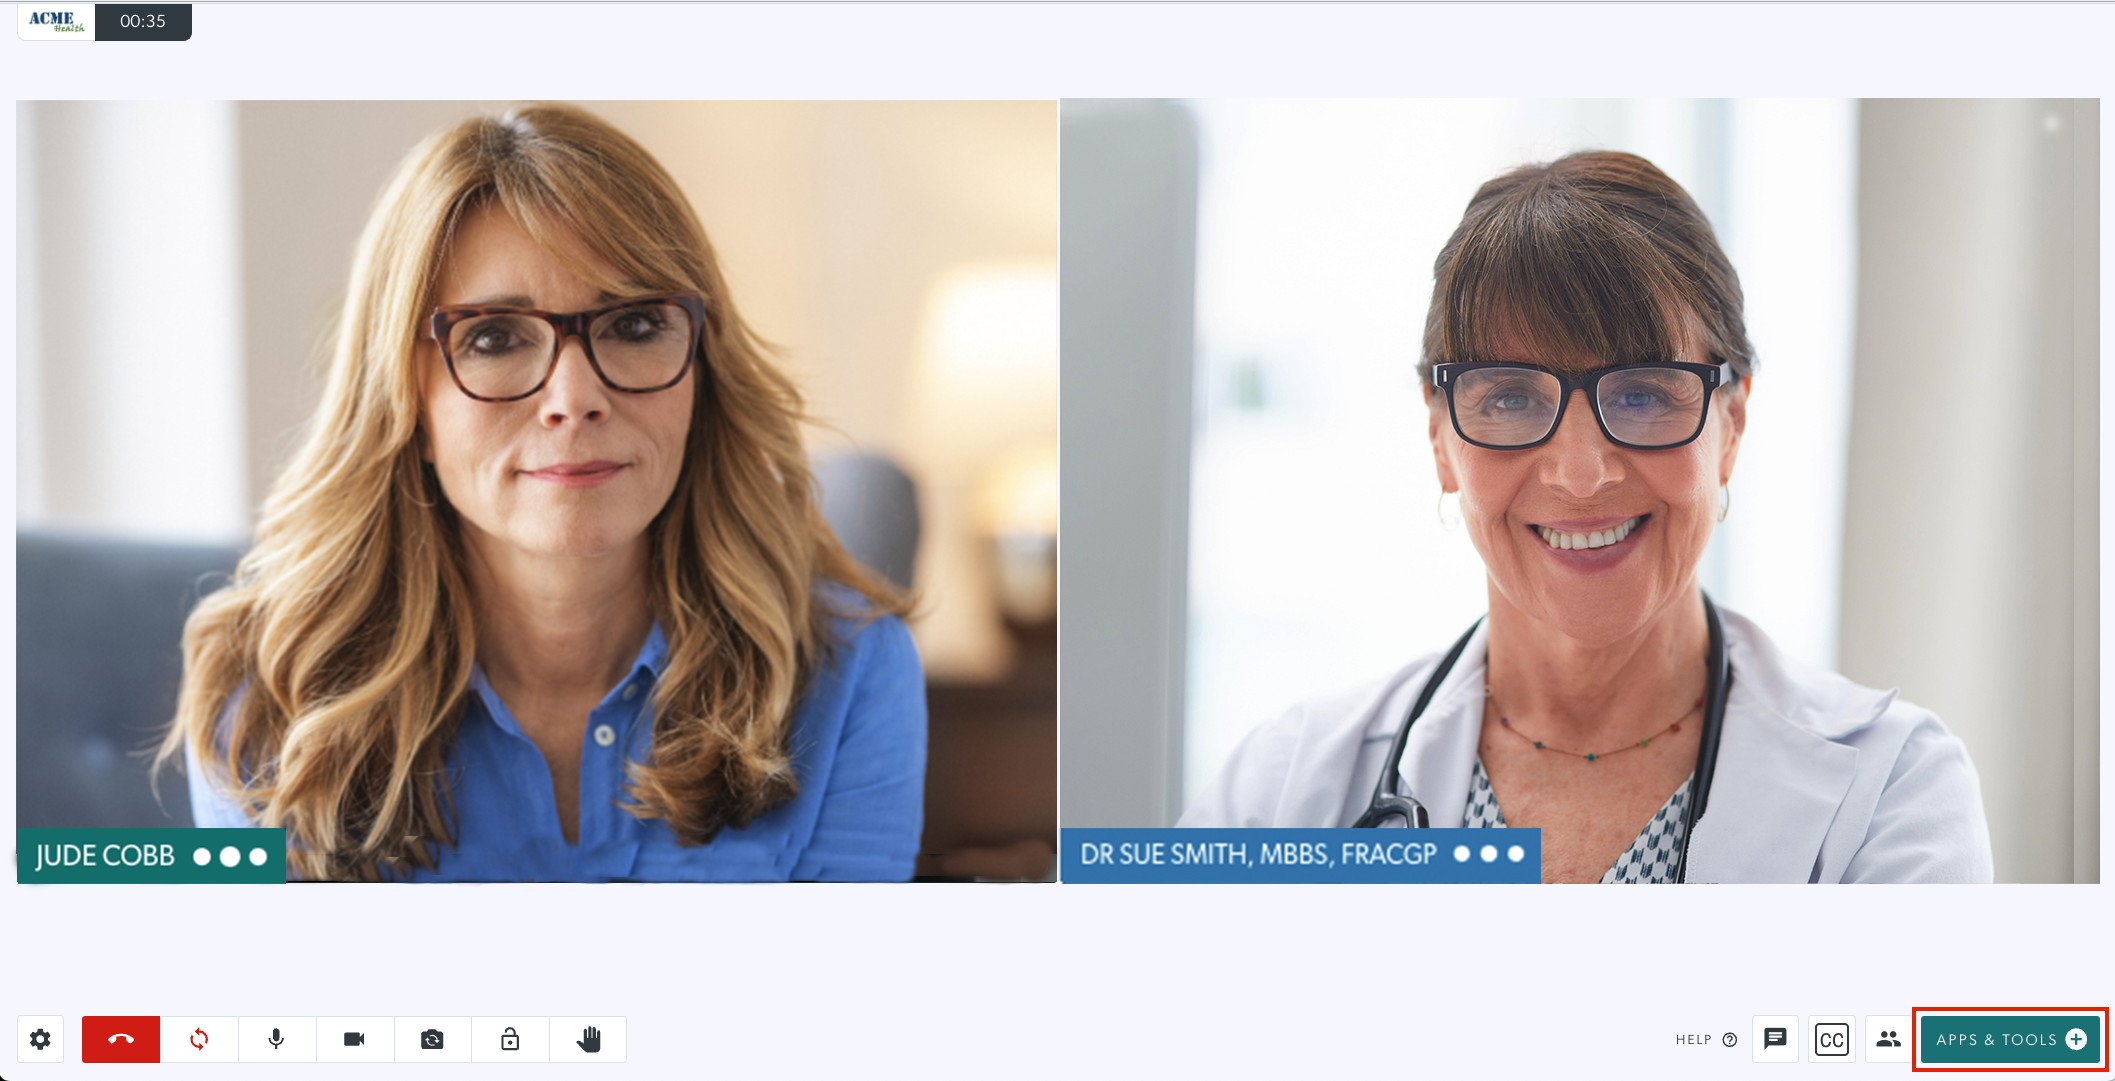
    The Apps and Tools drawer can be opened by clicking on Apps and Tools at the bottom right of the call screen

    Clicking on Apps & Tools opens the ‘Available tools’ panel on the right of the call window. Some Apps can be requested and are configurable, so your list might look a little different to this image.

    Please note:
    As per the text at the top of the panel - shared apps & tools will not persist beyond the end of the call. You can download or snapshot anything you need to keep on the patient's file.
    See below for information regarding the two optional checkboxes available to restrict guest use of Apps & Tools.

    Optional Apps & Tools checkboxes to restrict patient and guest use

    Clicking on Apps & Tools will open a panel to the right showing all the App & Tools available for you to share screens, images and documents and collaborate during a video call. There are two checkboxes at the top of the Apps & Tools drawer that restrict the patient or client's use of the the function at their end, if required. This may be useful if consulting with children who might be clicking around and sharing things randomly, or who may be drawing all over resources shared by the clinician. These options are explained below:

    In the call screen, click on Apps & Tools to open the drawer. There will be two checkboxes available at the top of the drawer.

    If neither box is checked, then guests in the call (patients, clients, interpreters and any other invited participants) will have access to open Apps & Tools and share resources, annotate over resources etc, as required. They will have the same functionality as the host.
    Checkbox 1

    If Make Apps & Tools view only for guests is checked, then the guest cannot share or interact with any tools. They can only view resources shared by a host in the call.
    With this option, guests will still see the Apps & Tools drawer but when they click on it they will see this message.
    Checkbox 2

    If Hide Apps drawer from guests is checked, guests will not see the Apps drawer so cannot share resources. 
    With this option guests will, however, have access to the Annotations Toolbar and can annotate over shared resources, if required.

    In this example you can see the Annotations Toolbar available at the top for guests - but no Apps & Tools button at bottom right.
    Delete

    How to use Apps & Tools during a Video Call:

    Share an image or PDF

    Sharing an image on a computer

    Click on Share an image or PDF to navigate on your computer or device to an image or PDF you wish to share in the call. It will be shared with the other participants in a video call and will be available to download using the Resource Toolbar at the top of the shared resource.

    The Resource Toolbar (explained in more detail below) will include a download option when sharing a resource that can be downloaded (eg a file). You can save PDF and image files with or without any annotations made diruing the consultation.


    Save 1 page pdf document

    Save multiple page pdf document
    When sharing a PDF file with multiple pages you can step though the document using the arrows with page numbers at the top right of the Resource Toolbar, and annotate on any required pages. In this example the Social Media section has been outlined for reference during the consultation.
    Participants can click the download button and if they would like to save the annotations with the file, they can select the option to Save this document with annotations, which will download all pages with any added annotations.

    Please note: remember to download any shared resources, if required, before the call ends as all information is purged at the end of the call.

    Sharing a real-time camera image on a smartphone or tablet

    Click on the Apps & Tools (plus sign) menu at the top right of the Video Call screen on your mobile device.  
    Click on Share an image or PDF from the options displayed.

    You will be provided with options to choose an action, 
    and you can choose from your photo library, take a photo to share into the call or choose a file.

    Select Take photo to capture and share a high-resolution still image.
    Take a photo as you usually would with the camera on your device. 
    Then click on Use Photo confirm image will instantaneously be shared into the call and be viewed by all participants.
    To return to the call screen, click on the two arrows at the bottom right of the screen. 

    Please note, there is no digital footprint left on Video Call after the consult and the image taken will not be saved.


    Start a screenshare

    Click on Start a screenshareto share a screen from your computer with other participants in the call. You have 3 options when using this tool:
    • Your Entire Screen: If you have more than one, choose the screen you want to share
    • Application Window: Navigate to an open application window. Please note: You cannot share Microsoft applications in this way - make them full screen and then select Entire Screen.
    • Chrome Tab – share an open tab when using the Chrome browser 
    Please Note: you can share a screen using Safari 14+ on an iOS device but the functionality is more limited - you can share the screen you are using but the other options such as application window and Safari tab are not - this is an Apple limitation.

    Android devices are unable to share screen - this is an Android limitation. You can share images, pdf files etc but not an entire screen.
    When you click ‘Share’ your selected option will be shared into the video call. All participants are able to annotate over the shared screen using the Resource Toolbar - you and other participants can also take a snapshot using the camera icon.
    Please note: remember to take a snapshot (if required) before the call ends as all information is purged at the end of the call.
    Sharing a video with audio using Screen Share
    You can share an online video with audio from a browser tab or from your desktop. Before clicking Share, enable the Share Audio tick box at bottom left, to enable audio from your computer to be shared.
    Please note: audio sharing is only possible when the person sharing is using Chrome or Microsoft Edge.
    Once you are sharing you will need to click on the microphone icon in the Resource Toolbar above your shared video to enable participants to hear the audio from your computer.
    If this icon is red you are not sharing your computer's audio.


    Screenshare: Important information for MacOS X Catalina And Big Sur Users

    Apple introduced new security features with the release of OS Catalina and these also apply to Big Sur. If you are running macOS Catalina - version 10.15 or later - or any version of Big Sur, you must grant Google Chrome or Firefox access to the new screen recording permission in order to share your screen during a call.

    How to enable screen sharing for your browser: 

    1) Open System Preferences by clicking the Apple Icon at top left of your screen and selecting System Preferences.

    2) Click the Security and Privacy icon.

    3) On the left, scroll down and click Screen Recording

    4) Click the checkbox next to the browser you're using - either Chrome or Firefox should be in the list. Note, you may have to click to lock in the lower left in order to check the box.


    5) When prompted, click Quit Now. The change will not take effect and you will not be able to share your screen until you quit and restart your browser.

    Add a whiteboard

    Click Add a whiteboard to add a shared whiteboard to your call. All participants can see and create shared annotations on the whiteboard and the download button is available for all participants in the Resource Toolbar.
    Please note: remember to download the annotated whiteboard (if required) before the call ends as all information is purged at the end of the call.


    Share a document camera

    Click on Share a document camera if you have a camera pointing at a document you want to share, you can select it and share with other video call participants. Document cameras are typically low frame rate and high resolution so best used for still documents and images. This tool allows annotations and snapshot functionalities.
    Please note: remember to take a snapshot before the call ends as all information is purged at the end of the call.
    Delete

    Share a file

    To transfer a file to another participant, select Share a file and navigate to the required file. A download button will appear for your patient/client to click and download the file.
    This feature is enabled via the File Transfer Add-on in the Configure Add-ons section of the waiting area dashboard.

    Please note, Share a File is not compatible with Group Calls, however you are able to Share an Image or PDF.
    If a participant tries to share an executable file with you a warning will appear in the file share dialogue box. Executable files contain a set of instructions which your computer or device interprets and runs when you open that file. This is why they can be potentially harmful. It would be very unusual for anyone to need to share this type of file with you in their consultation.


    Request a camera

    You can request another camera from a participant in the call, if required. For example a patient and a GP in one location calling another specialist via Video Call. The specialist could request a scope camera they know is available and the GP with the patient could then select that camera.
    The patient/client end will see this message and they can select the required camera or source using the button (for example a scope if not a camera).
    Once the camera/source is shared into the call, annotation and snapshot functionalities are available. The image can also be flipped, if required, and a video quality can be selected.

    Please note: remember to take any snapshots required before the call ends as all patient information is purged at the end of the call.
    Delete

    Add a video

    Clicking on 'Add a video' allows you to upload videos available on your device into your call and watch them with other participants. The app synchronises the video for everyone in the call.

    Please note: Add A Video is not compatible with Group Calls. To share a video in your call, upload the video to YouTube (you can make this a private video so it can only be viewed by people who have the link). You can then share the video in your call by copying the link and using the YouTube Player app outlined below.
    Delete

    YouTube Video Player

    Click on YouTube player to embed a YouTube video in your call and all participants will be able to see and hear. 

    The YouTube Video Player app allows users to share a YouTube video without needing to share a browser tab. All you need is the YouTube link. Please note, this is specifically for YouTube videos and is not designed to work with links from other video streaming services.


    If you fast forward or move to another section of the video, this will update for all participants. The link you use must be a YouTube link.

    Delete

    Grid view (2 or 3 panes)

    You can share more than one tool at a time using Grid view. Before you select the grid view tool you need to have at least two active tools available (or three for the 3 pane option).

    Once you click on Grid view – 2 panes the interface will open and you can select a currently available tool for each pane. Once selected all participants will see both tools shared into the call. You can click on the arrow to the left of the shared grid view to minimise the caller screens and maximise the shared tools. You can use the Resource Tool Bar to zoom in to a screen and create annotations.

    Grid view – 3 panes works similarly but allows you to share 3 available tools at the same time (remember you will need at least 3 active tools to use this option).


    Managing the Apps & Tools in the Active Tools Menu

    As you add resources to your video call they will be available and managed from the Active Apps & Tools icon. This icon only appears when you have at least one available app/tool active. The number 1 in this example informs you that there is currently 1 available app or tool.
    Click on the icon to see which apps/tools you have currently available – remember you can only share one app at a time (unless using grid view) and you can click between them to share with your call participant/s. This image shows two available tools that can be toggled between as required.
    To remove a tool so it is no longer available for sharing, click on the bin icon to the right of the tool.
    You will be prompted to confirm you want to remove this app/tool.
    Delete

    Using the Resource Toolbar during a call

    The Resource Toolbar is visible while using tools that support annotation, zoom, rotate, full screen, download, snapshot and various other functions. When you share a tool, the Resource Toolbar will show the available options for that tool. In the examples to the right one toolbar has a download button and the other a snapshot button - this depends on the Video Tool being shared as outlined above for each tool. The download button is an add-on in the configure section that is provided by default - this can be uninstalled if desired.

    Using the Resource Toolbar you can use the following functionality:

    • Point and move          
    • Stickers (tick) - clicking on this icon brings up a range of stamps/stickers   
    • Pencil            
    • Highlighter          
    • A – type text function 
    • Eraser       
    • Undo        
    • X  – clear all annotations
    • Zoom In and Out 
    • Rotate     
    • Toggle Fullscreen icon
    • Download - including options to download with or without annotations
    • Camera - if sharing a video or camera, use this icon to take and download a snapshot
    • 25fps button - if sharing a video or you have movement in a camera shot being shared, you can toggle on the 25fps frame rate. Clicking this button will toggle between 5fps and 25fps (see bottom screenshot).

    Resource toolbar with download option
    Resource toolbar with snapshot option
    This image shows the colour options for all tools and the available options for the Sticker tool
    When sharing a video the 25fps frame rate option is available


    Why can't I see some of the apps or tools outlined above within a Video Call?

    You may not see all of the apps or tools outlined above as some may have been uninstalled by your Organisation and Team Administrators. For information on configuration and uninstallation of tools, refer to Configure and uninstall new add-ons. Please note that if you do uninstall any apps or tools from the Add-ons section you will need to contact the Healthdirect Video Call team to add them back to your clinic.  


    Can’t find what you’re looking for?

    Email support

    or speak to the Video Call team on 1800 580 771

    Internal Content