Share a document camera
How to share another camera into your call, such as a document or other available camera
To share an addition camera into your call
| Click on Apps & Tools in the bottom right of the call screen. | 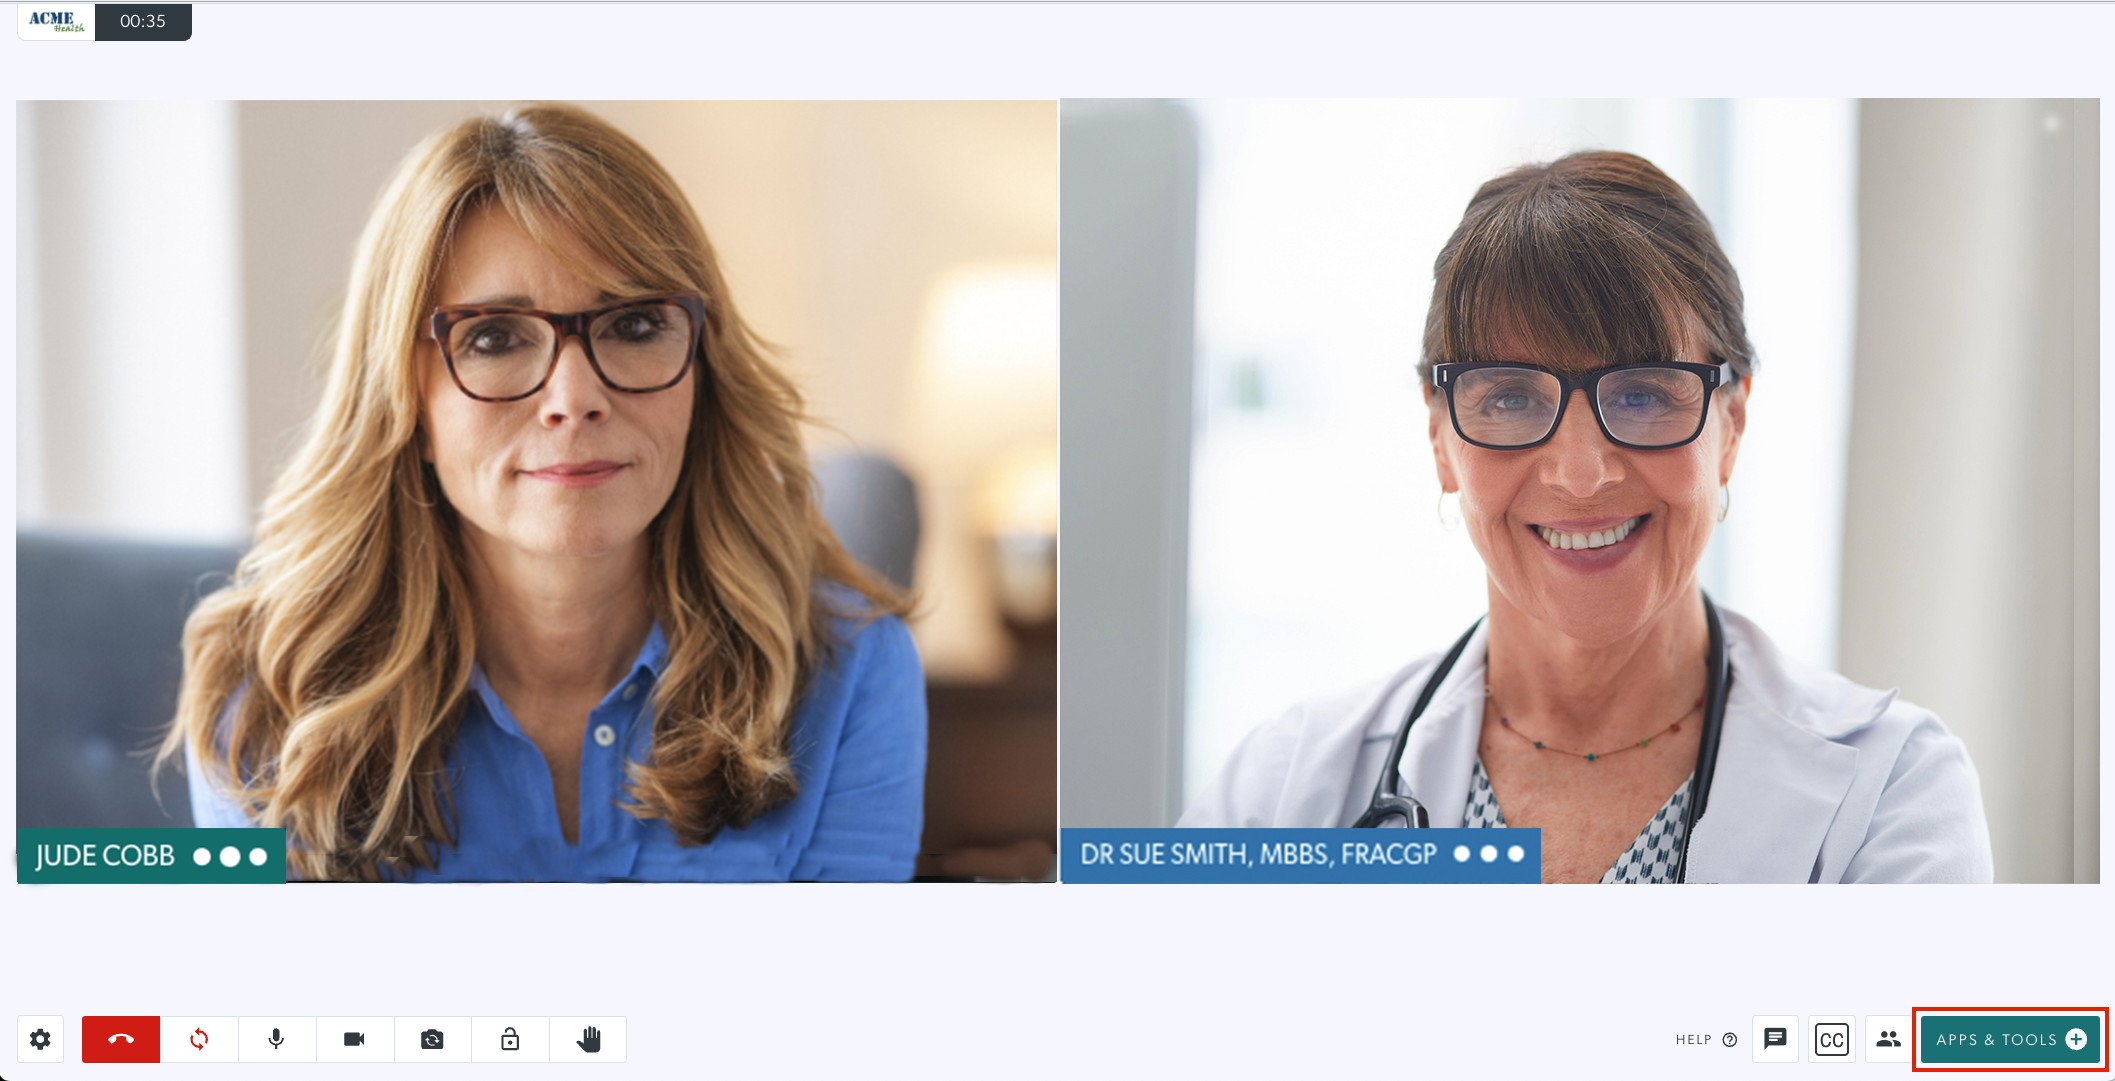 |
| Select Share document camera to add an additional camera to your call. | 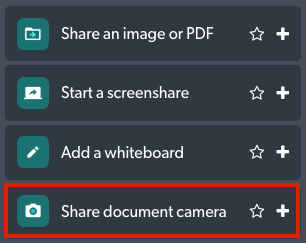 |
| A screen will open with a dropdown menu and you will see a list of the available cameras for your computer or device. Choose the desired option to share the camera into the call. | 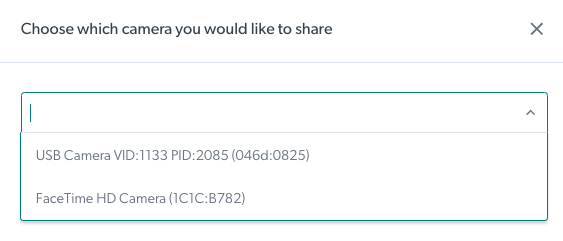 |
|
Once the camera is added to the call, annotation and snapshot functionalities are available. The image can also be flipped, if required, and a video quality can be selected.
|
 |
Convert a shared document camera into a participant window
| Once the camera is shared into the call, hosts in the call will see a button that allows them to convert the camera into a participant window. |  |
| Click the button and the shared camera will appear in a participant window (with the name Camera 1). Please note that it still also appears as a shared resource. |  |
|
To close the shared camera as a shared resource and keep it as a participant window only, click the minimise button to minimise the shared camera (this button is found at the top right of the shared resource). You can now share another resource into the call, if required. |
 |